This is the Reef of Fallen Worlds, kid. It's a dangerous place at the best of times. And with you lighting up the sky as you fell... we should get out of here as soon as possible.
„
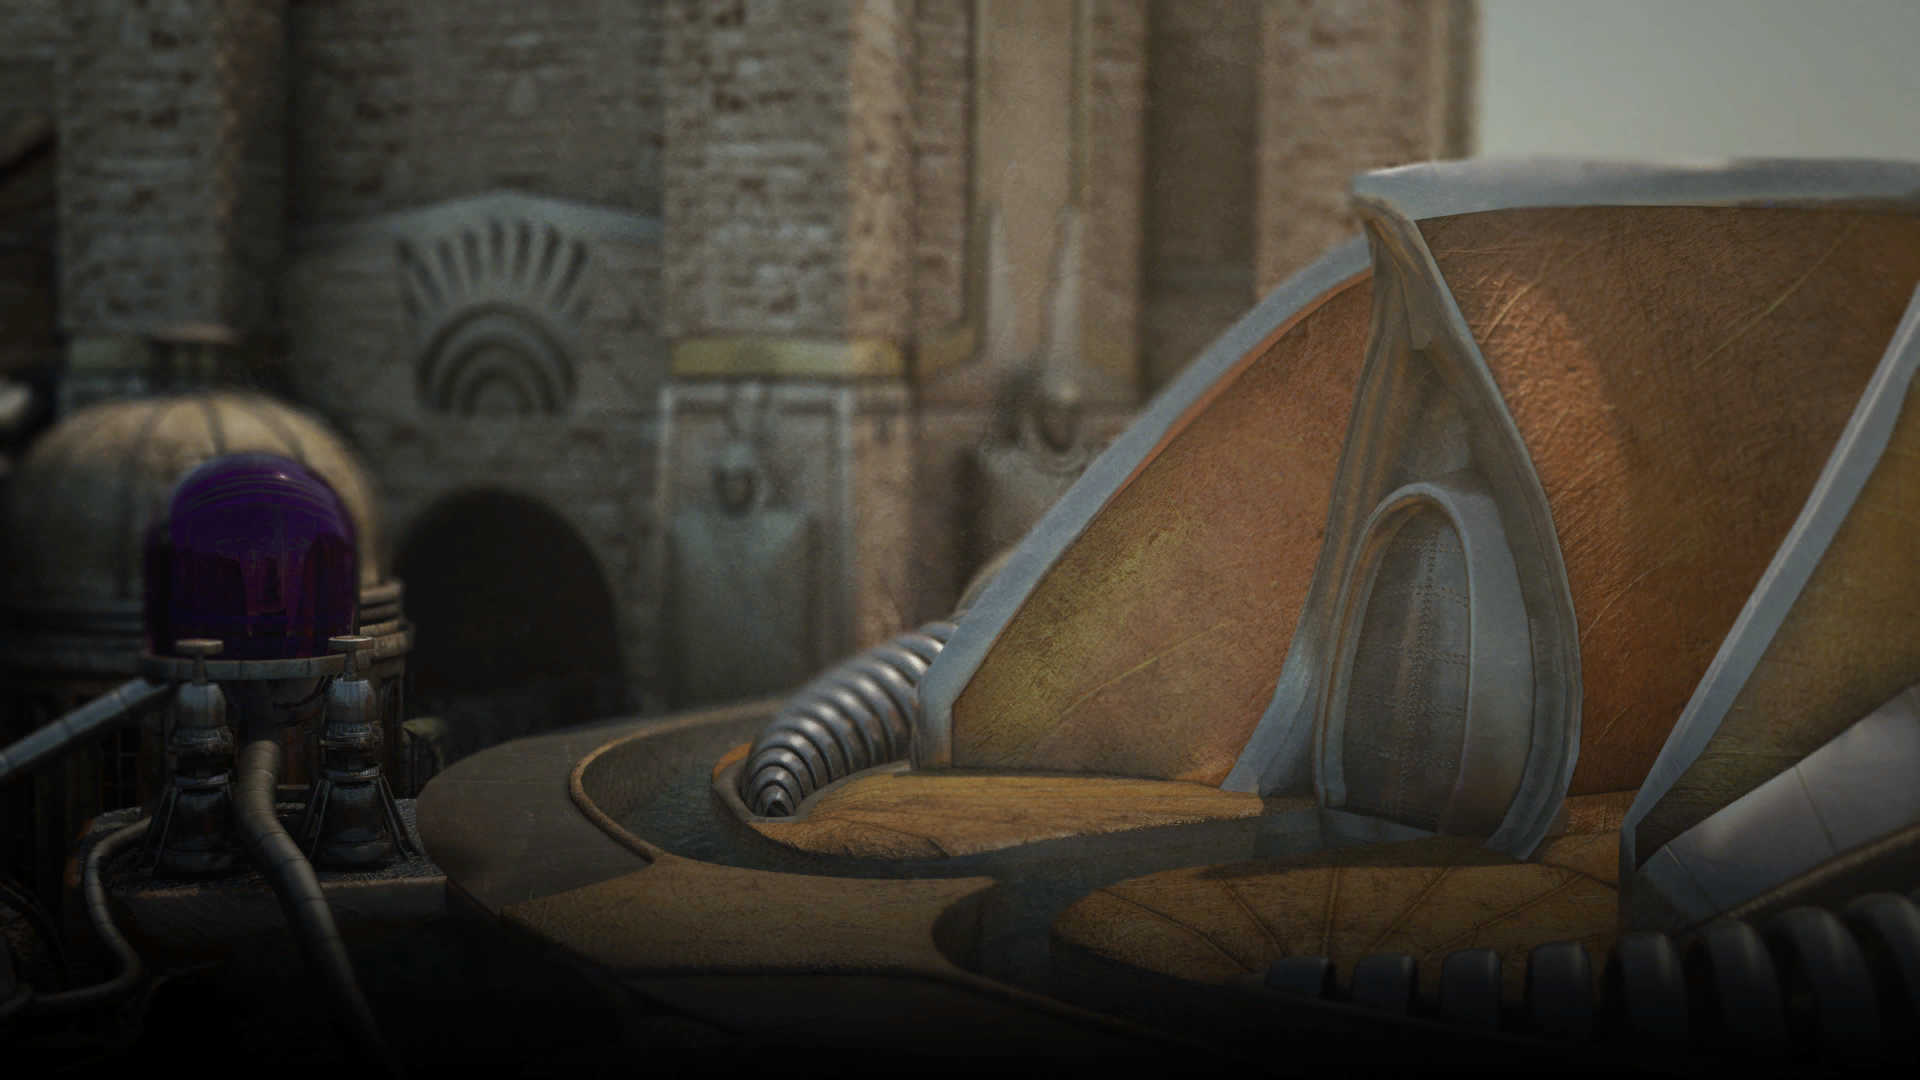
Reef of Fallen Worlds is a location in Torment: Tides of Numenera.
Background[ | ]
Points of interest[ | ]
The Reef is basically a continuation of the tutorial section, introducing you to exploration and character dynamics. There's also a good number of goodies here.
The first are the two floating pink cones, spinning deliriously around each other. You can use Speed (Quick Fingers) to touch one of them as they pass. It grants you a vision of a moon hanging overhead. If your protagonist has Lore: Mystical and examines them, you receive 2 XP.
Further down is a tangled cluster of tendrils that you can examine and use Might (Smashing) to break one of the hands off and gain the Eight-fingered Mace. With Perception, you can also use Speed (Quick Fingers) to snatch a Steel Seed-Podcypher from the hands' possession. If you fail, you instead take some damage and gain +1 to your maximum health pool.
The obelisk is less helpful. You get one free touch and the rest will be met with retaliation. You can use Speed (Quick Fingers) to get away from it fast enough. If you have the Crystalline Shard, you can use it on the obelisk to gain the Infused Crystalline Shard.
Grab loot by the (yet) unopenable Anechoic Lazaret, then ascend up the stairs to meet Qorro.
This Crisis is the first real challenge. You can use Intellect (Deception) (another deception option opens after exhausting the other questions) to avoid combat altogether. Otherwise, you'll need to begin fighting Qorro and his mercenaries.
Telling the truth about your origin results in a Tiny increase in your Silver Tide (Power).
Surrendering leads to a Small increase in your Gold Tide (Compassion) if you didn't want any casualties on your behalf or a Small increase in your Indigo Tide (Justice) if you wanted to give both Qorro's posse and your party a chance at survival, but pretending to surrender and then attacking results in a Tiny increase in your Silver Tide (Power) and a Small increase in your Red Tide (Passion) (your party also receive an Initiative buff for the fight).
Refusing to surrender at all results in a Tiny Increase in your Silver Tide (Power).
You can choose to dispose of Qorro, which allows you to reactivate the bridge using the device on his corpse, while the nearby psychic conduit (the flickering light) can be used to activate the turret and aid you in survival OR you can approach him with Callistege to convince him that a fight against two powerful Nanos and a regenerating Castoff is above his pay-grade. *Another method is to kill all of the mercenaries with Qorro, which results in his surrender. The player can accept the surrender, refuse the surrender or demand compensation, which comes in the form of 2X Sprayflesh and 26 shins, plus a Small increase in Indego Tide. [TYVM to whoever fixes my formatting!]
Regardless of the resolution, Aligern takes Qorro's presence as proof of Callistege's treachery, while Callistege is obviously indignant about the accusation. You have to choose between them or going alone before continuing.
Characters[ | ]
Qorro: A leader of a small gang sent to find whatever fallen star wound up in the Reef.

 Speed (Quick Fingers) to touch one of them as they pass. It grants you a vision of a moon hanging overhead. If your protagonist has Lore: Mystical and examines them, you receive 2 XP.
 Might (Smashing) to break one of the hands off and gain the Eight-fingered Mace. With Perception, you can also use